
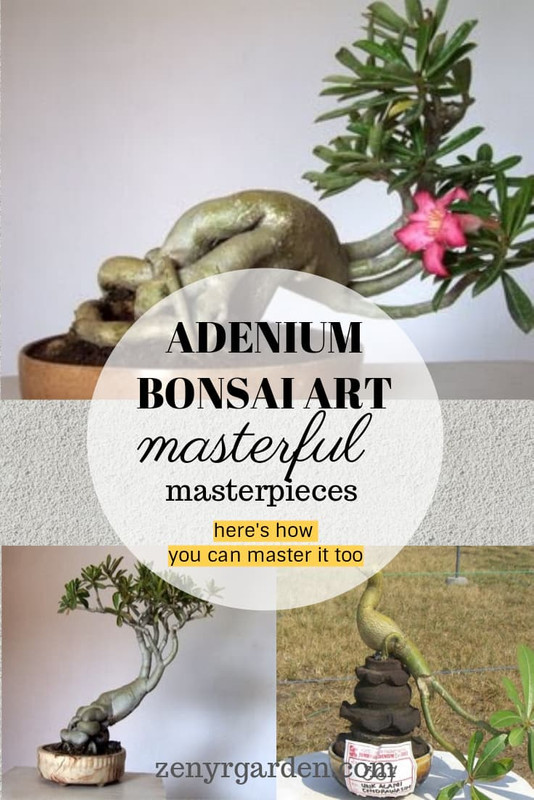
Adenium bonsai art sculptures are the different shapes carved or bounded on the adenium branches.
Some folks don't like this art style though. They question what will the adenium look like 10 years after "surgery".
/adenium-artist-grower-sculpture.jpg?ref=zenyrgarden.com)
For other folks, this is their passion & an outlet for creative expression. To show you an example, here is the (notoriously difficult) 6-point flower vase adenium sculpture:
>> Link Facebook: 6-point flower vase adenium video
Here's another one:
/adenium-bonsai-sculture.jpg?ref=zenyrgarden.com)
If you like this style, come explore with us. It looks simple but not really easy to do. You can experiment with this just because you love it. If you're skillful, your adenium art sculptures can even increase in value (specifically the more skillful you get).
A super well-done piece like the one below can be sold for about $100. The evaluation can increase depending on the health of the plant, the shape & of course the buyer's eye for beauty. This adds value to the final product & helps as an income stream for many growers/adenium hobbyists.
/price-of-adenium-art-sculpture.jpg?ref=zenyrgarden.com)
Learning the way or how they cut & care for the sculptures can be hard. Because some of the best masters might not want to reveal their trade secrets yet. If you believe in trial and error & have a bit of imagination, you totally can do it, or even make it better your own. Let's see how:
/adenium-tower-sculpture.jpg?ref=zenyrgarden.com)
Adenium Bonsai Sculpture Art for Beginners
The adenium species many people use for this is the Somalense or Anaconda (a cross between Somalense x Obesum).
This type has a tall, long single stem, making it easy to carve the shape & care for it later. Somalense also grows fast & is sold as "stock" plants at an affordable cost.
/adenium-somalense-plants.jpg?ref=zenyrgarden.com)
Let's see this style next:
4-Point Cut (to Make A Lantern/Tower Shape)
This sculpture style is relatively easy for beginners. The basic idea is this:
/adenium-sculpture-cut.jpg?ref=zenyrgarden.com)
In this 4-point cut, we will start by dividing portions on the tree trunk. Mark one single black horizontal line (–) near the base. Then, we mark multiple equal signs (=) spaced apart all the way to the top. It doesn't really matter how short or long the portions from 1 equal sign to the next equal sign are. It's your eye for beauty.
Depending on how big your plant trunk is, eyeball the space around. Then, cut a line (like the first red line from the baseline) in the middle of the stem from one side straight through the opposite side. Do the same for the adjacent sides around.
If you cut it this way, you can finish the first level with 2 knife passes. It's okay just to cut half way into the trunk & spin the tree around to do the other side. This way, you'll need 4 knife passes.
After we finish the first level:
We move on to the next one. It starts at the first equal sign (=), see the 2 parallel red lines (| |). They are the knife cuts of the first level. On the second level, eyeball and cut the lines about the mid-section of those first starting lines. Then, work all the way up. Again, you can cut right through with 2 knife passes or cut halfway in through, turn the plant around and do 4 knife passes.
After this, just repeat the same cut all around the trunk up & up to the top. You can alternate between layers. For example, levels 1, 3, 5 will have the cut lines in alignment. Levels 2, 4, 6 cut lines will align. All the way up to the top, once you're happy, you can stop right there.
Opening up the lantern/tower:
/styrofoam-balls-to-nudge-lantern-adenium.jpg?ref=zenyrgarden.com)
Use some paper balls or Styrofoam pieces to nudge between the cuts. This opens up the lantern shape. You can make it wide or narrow however you like.
Then, wrap a cling wrap around the tree. Place it somewhere without strong direct sunlight. Be careful when placing it against a wall because of the heat reflected. If your chosen plant is strong, it might heal after 10 days or more. Unwrap the plastic then.
You'll see the adenium start developing the bark to cover up the open inside fibers (the inside raw green walls of the cut lines). It's truly fascinating. Some folks even hook lights on their creations.
We're learning about another style of adenium sculpting called the braid style:
/braid-style-adenium.jpg?ref=zenyrgarden.com)
If you're curious, let's browse through another style called:
High Roots Style
/adenium-high-roots.jpg?ref=zenyrgarden.com)
Have you seen this one or something similar to it:
/adenium-high-roots-with-flowers.jpg?ref=zenyrgarden.com)
To make this shape, when the adenium is still young, we cut a V-shape around the main trunk like this:
/root-cut-adenium.jpg?ref=zenyrgarden.com)
The adenium roots will shoot out from the pointy tips of the roof or little mountains & not usually from the slope sides:
/root-cut-adenium-v-shape.jpg?ref=zenyrgarden.com)
To make the roots longer (thus the name high root) & not wider, you can use a free-draining growing medium like carbonized rice husks.
From observation, when the roots are grown in a moist/compact mix, they tend to grow quite fat. When grown in a well-draining/more airy medium, the roots tend to grow thinner & longer.
For example, sand when watered can be quite compact. Adenium roots will then need to use more energy to push out more through the wet sand; thus they will grow out quite fat. Coco peat, in contrast, is quite loose & airy, the roots then have an easier time to crawl out. They tend to grow longer & slimmer.
/adenium-root-formation.jpg?ref=zenyrgarden.com)
Thanks to this characteristic, you can shape the roots to grow higher level after level every year. For example, when you first plant the young V-cut adenium trunk in the soil. In one year or so, it grows to level 1. When you're happy with this, you'll slightly raise that part of the roots up above the soil, leaving some below the soil to grow out as level 2.
/adenium-high-roots-styling.jpg?ref=zenyrgarden.com)
The root part that the artist wants to grow longer or slightly bigger is placed below the soil. After some time, you can pick the plant up to see if you're happy with the level 2 growth. Then, we can continue on & on. Over the span of 3 years, we may do 5 dig-ups to check & see the growth. The result is truly satisfying.
The creator of this style is Hong Quan. Here is his video for more inspiration:
The opposite of the high roots style is the high branches style:
/adenium-high-branches.jpg?ref=zenyrgarden.com)
Personally, I really like this style.
Going near the end of our adenium bonsai tour, here are just some more models to stir up your imagination:
More Adenium Bonsai Art Ideas
Check out this $30,000 adenium bonsai. It's the Thai Soco adenium. They train the roots in a radial style.
/adenium-thai-soco-million-baht.jpg?ref=zenyrgarden.com)
Here are some other adenium bonsai styles:
Your Own Adenium Creation
More than just a plant, adenium has been a great outlet for growers/hobbyists to unleash their creativity. It has been a truly therapeutic, inspiring & satisfying means of art. Hope this brief post has given you some ideas to get started. Let the adenium be your canvas & beautify it with your imagination. Have a ton of fun & enjoy!
If you have any nice ones, please share some pics and we'll post it to our Gallery.
Thanks:
Share or pin this post!