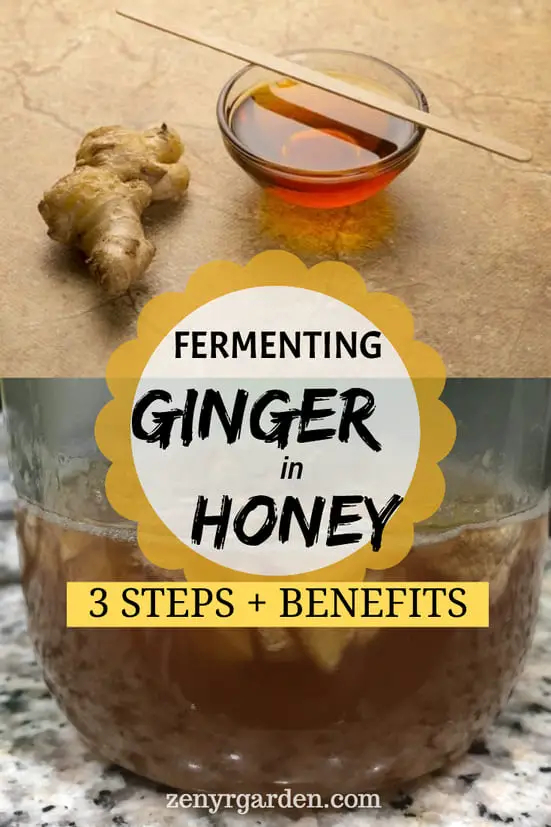
Ginger fermented in honey is a great drink for maintaining gut health. Often served with warm morning tea, it also helps folks with cold feet and hands to keep warm on cooler days.
Let's see how to make it now. We only need two ingredients:
Ingredients:
- Ginger
- Honey
When buying ginger, choose nice clean ones that don't have any kind of molds appearing on their skin or a ton of preservatives in it.
Similarly, for honey, choose raw organic one that's not just mixed sugary juice. Or one that has not been pasteurized as it may have killed off some microbes needed to kickstart our fermentation.
/preparing-ingredients.jpg)
Step 1: Prep The Ginger
To use the ginger whole without peeling, you can prep them with a few simple steps to avoid contamination.
Firstly, wash or brush off any pieces of scale or dirt left on the ginger skin. Soak the ginger in salt water (0.9-1%) or vinegar water to kill off any bad bacteria. And finally, dip the ginger in boiling water for 1-2 quick second for pasteurization.
However, if you don't feel like washing the ginger, you can peel the skin off using the side of a spoon (thanks to Rural Sprout for this hack) and just scrape the skin down. This way, you won't lose your mind trying to peel ginger skin.
/step-01-prep-the-ginger.jpg)
Either way, after having your ginger prepped, we can move on to:
Step 2: Cut The Ginger
If you have a food processor, you can put the ginger in and have it chopped up nicely. Alternatively, you can chop it on a cutting board.
Try to cut on a more slanted angle to expose more surface area. This helps extract more of the goodness out of our ginger.
When the ginger is chopped up nicely, you can put them in a clean jar.
/step-02-chopping-ginger.jpg)
Finally:
Step 3: Pour Honey In
The reason why we didn't have any measurements in the beginning is because this step can actually be done by just eye-balling the amount we put in.
When pouring honey in, you'd want the honey level to stay above the ginger for at least an inch or 1-2 cm. This extra honey layer acts like a layer of seal to make sure the ginger doesn't come in contact with oxygen or contamination. This helps it ferment better.
As you pour the honey in, some of it will gradually seeps down through all the ginger in the jar. You can use a wooden spoon to distribute the honey more evenly.
As you're about done, use a paper towel to wipe off any honey left on the mouth.
/step-03-pouring-honey-in.jpg)
And finally, close the jar lid and let it ferment.
/step-03-done-honey-ginger-jar.jpg)
After a few days, as the honey seeps in and the above-ginger honey level drops, you can add some more honey back to it.
When Will The Honeyed Ginger Be Ready?
For at least 2 weeks, the mixture will be ready to use. You'd want to give it some time so the good stuff have time to get extracted out.
However, as with any other fermented foods and drinks, the longer you let it sit the better it becomes.
/honey-ginger-jar-after-two-weeks.jpg)
In the picture you can see above is the jar after 2 weeks. The done honey ginger will have a more runny texture. It actually turned quite runny quite soon (several hours after putting in the cupboard) in my case. There's a lot of bubbles on the top. The smell is quite strong/powerful but overall a nice blend of ginger and honey.
Have a quick taste. If you like it at this point, you can pop it in the fridge to let it slow ferment. Alternatively, you can let it sit there to ferment some more to get more goodness out of it.
Good Temperatures to Mix Fermented Honeyed Ginger In Tea
If you'd like to get lots of enzymes (good for digestion) out of this, then 113-140F /45-60C is a good temperature range to mix the ginger in. When you make tea, let it cool down a bit then add some honeyed ginger to the tea.
Also, if you're looking for more anti-oxidants (good for skin) or polysaccharides from the mix, then add it in at a higher temperature. For example, when you're steeping tea, add some honeyed ginger at the same time with the other ingredients. This way, you'll get the stuff that you want/need.
Experiment and adjust the amount to best fit your taste.
It has been fun making the ginger with y'all folks. Hope you'll return for more fermentation & See you next time!
Share or pin this post!


