
In building concrete dragon fruit posts, some people believe that the premixed just-add-water cement powder may not be as strong as the one you mix yourself. Another issue when making the concrete posts is the steel rebar inside. Will they get rusted & affect the dragon fruit plants?
Let's see how to make strong, good sturdy poles that may just outlive us. But before we begin, let us say that this is going to be quite a ride.
So buckle up & let's explore together:
Some First Few Considerations
Round or Square Cement Post?
Some growers prefer square posts because they provide a good flat surface to lean the dragon fruit plants on. On each of the four sides, we can plant 4 cuttings of dragon fruits.
For shipping & handling, it's easier to stack square posts on each other than the cylindrical ones, which may roll & create empty space in between.
The downside to square posts is that they're almost never square. The edges, or 4 corners, of the posts are slightly rounded when taken out of the concrete mold.
So there's always a bit of concrete left over. Which creates waste. Choosing a shape from the start can help you choose the right mold to make the post.
How High & Wide Should the Post Be?
A good height for dragon fruit post is around 5-6ft (1.5-1.8m). The diameter for a square shape post is around 4-5 in. (10-12 cm).
For cylindrical post, the minimum recommended diameter is 4.7-5.9 in. (12-15 cm) for good support.
When you're planting the pole in the ground, take into account the depth of the hole. If the hole is about 1-1.5ft (30-45 cm) deep, then the above-ground height of the 6ft/1.8m pole will be 4.5-5ft (1.37m - 1.52m).
From here, many people wonder:
Will the Cement Post Be Knocked Out by the Wind?
The weight of the post usually anchors itself well in the ground. Some make extra cement footing right inside the hole.
You can pour some concrete around on the top soil surface to anchor it more securely. With the dragon fruit roots grabbing on the post as they grow, the pole will stand even more sturdy in the ground.
And now the question is:
Should I Use Premix or Self-Mix Concrete?
Ready-mix concrete is good if you're busy & don't want to spend more for a concrete mixer machine. You can use a wheelbarrow or any container to mix it.
A 90-lb bag usually costs less than $5. The downside is that it may not be as strong as you like or strong enough to support the plants as they grow bigger.
If you use premixed concrete, half a bag (or 45lb) would be enough for one 6ft post. Some add more water than instructed on the package so it's easier to mix.
If you mix your own stuff, try the 1-2-3 ratio. Mix 1 part concrete, 2 parts sand, and 3 parts gravel or aggregate. Similarly, you can try the 4:1 ratio of 4 parts aggregate & 1 part concrete. A finished post can weigh about 200 lbs/90 kg. It's ridiculously heavy.
When letting the concrete cure, tap along your mold to make the air bubbles pop. If the post doesn't set properly, you may see cracked honeycomb-like structure on the surface.
After pouring the concrete in, if you have an air pump, use it to pump air inside the concrete. You can use a trowel to poke in & out. This helps burst any air pockets inside, making the concrete more dense, compact & stronger. A concrete post with empty air bubbles inside are usually more weak.
/pouring-concrete-in-mold.jpg?ref=zenyrgarden.com)
After about 48 hours minimum, you can take the post out of the mold. If you take it out too early when it's still wet, it might crack.
For the first 2 weeks after the release, pour some water around or hose down the post. Moisture helps the concrete cure & strengthen it. After 28 days, your concrete post will fully set.
Choosing Rebar for Reinforcement
Rebar or some steel rod in the core can help strengthen the overall post.
If your posts are about 6ft tall, a 5.5-6ft (1.6-1.8m) rebar will work. The ones with a diameter around 3/8-1/2 in. (9.5 - 12mm) are good enough.
You can use the bigger 1/2" (12mm) one as the central spine. And three smaller 3/8" (9.5mm) ones as the supporting rebars. Wire them using 17-gauge bar ties into a triangle prism like this for strength:
/closer-look-the-rebar.jpg?ref=zenyrgarden.com)
Some people ask if the rebar will rust? The part covered with concrete will get protection from corrosion or environmental factors.
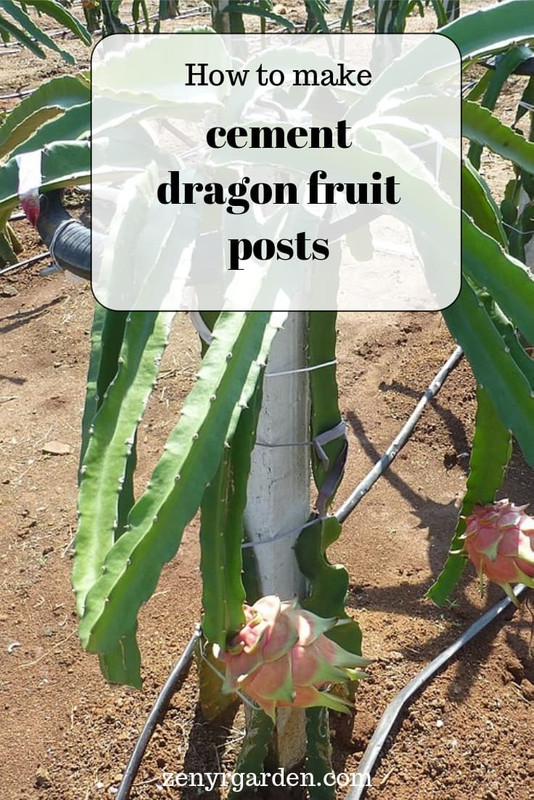
The only concern is the exposed tips or antennas for supporting the top platform. They look a bit like these:
/dragon-fruit-posts-on-a-farm.jpg?ref=zenyrgarden.com)
From growers experience, these exposed steel bars will rust over time. If you don't like this, consider using shorter rebar or just don't let it expose out.
Alternatively, you can use Zinc Gal or any cold galvanizing spray as a protective coating against rusting.
A single 1/2" (12mm) rebar would be okay for supporting the pole. If you don't let some rebar 'antennae' expose out of the post, then you may need a different top support design. A removable & replaceable top platform (like car tires or wood) could be also a good option.
But also remember:
The Mix Location
When you mix & pour concrete into the mold, do it near the place where you're going to plant the post in. This is a point many growers may easily overlook. But if you do it somewhere far far away, you might have a hard time dragging that 200-lb/90kg monster to its place. The near-by location makes it a whole lot easier on you & your back.
This is unrelated but, this is possibly why the Inuit people use ice blocks right at the current location where they're standing to build their igloos (the infamous dome-shaped snow houses). Very efficient & energy-saving in such cold places.
Anyway, we digress. Getting back to our making dragon fruit posts, we can start:
Making the Mold & The Post
Wet concrete is very heavy so choose a mold material that can withstand such weight & pressure. If the mold is too flimsy, the concrete may bend it curve and you'll end up with a curved post. Materials like steel, wood or thick PVC work well as molds for concrete.
Multi-Post Mold
If you want to make multiple poles at once, try the multi-post mold:
/inner-rebar-core-dragon-fruit-post.jpg?ref=zenyrgarden.com)
This is 6ft (1.8m) steel mold with 3 dividing steel planks. Both ends have steel caps and it's all in one piece.
There are 3 bars across the mold to keep it in place. The 2 long handles on the side help the builders lift the mold up when the cement is just about to cure on the surface.
Using this mold to make the post, first they lay a layer of newspapers down on the ground. Then, place the rebar on, put the mold on & pour the concrete in.
After 15-20 mins when the surface of the posts dries, they'll lift the mold up and create another batch. They lay another layer of newspaper on the just-cured stack, put the rebar in, place the mold in again & pour concrete.
Layer by layer, a stack of concrete poles is made. It looks something like this:
/stack-of-dragon-fruit-cement-post-side-view.jpg?ref=zenyrgarden.com)
The builders put newspapers as liners on the post ends for easy release. No oil or releasing agents is used. The weight of the newer posts can help compact the older ones down, bursting out any air bubbles inside; thus making the concrete posts strong from the inside out.
A downside to this method maybe the new concrete spilling down to the older posts. But if you're mass producing, it helps speed up the production.
/side-view-dragon-fruit-post.jpg?ref=zenyrgarden.com)
Here is a great video series on making multiple cement posts:
>> Link YouTube:
How to make dragon fruit cement posts | DIY dragon fruit posts ep 1But if you only need one post, check out this one:
Single-Post, Square Wooden Mold
Use thick wood as the mold. You can try the open top mold with braces across so the sides don't bow out.
A basic construction is:
| Part | Thickness x width x length (inch) |
|---|---|
| Bottom plank | 1" x 8" x 6' |
| Side planks | 1" x 6" x 6' |
| Both ends | 2 big pieces of wood |
Screw the side planks to the bottom plank with some nails. For the two ends, screw on some big enough piece of wood. Use braces or wood bars to secure the top open surface. Deck screws also work. And with this set up, you're basically good to go.
If you don't like the square design, try this:
Single-Post, Plastic Cylindrical Mold
If you have PVC storm water pipes, you can utilize those to make the posts. We don't need to oil it or use any releasing agent.
But you totally can if you want to. Old engine oil will work fine. The concrete will release out of the mold easily & it won't be sticky.
Some people prefer this cylindrical style because it looks nicer. The minimum diameter around 4.7-5.9 in (120-150mm) is good for this type. A 3-inch (80 mm) drainer pipe also works.
You may need to plan a good space for this because you'll be pouring the concrete from the top of the tube down. Again, do it somewhere near the pole so you won't need to drag it to the destination afterwards.
>> Link YouTube:
Making Concrete Dragon fruit postsEstimate Total Cost per Post
- 45-lb concrete: $2.5
- 4 rebar: $12
- Molds, water, screws: $10
Approximately it costs $24.5 per post. They often lasts 60-70 years. But the costs varies depending on where you live.
Dragon Fruit Post Making Services
In some places, there are dragon fruit planting services. For new starters, they help make the concrete posts, plant the cuttings, and set the whole thing up from A to Z.
All you need to do after that is just enjoy planting your dragons & get the good returns on your investment. This might be a good business idea in some places that few are doing it.
Have fun DIY!
Now we know the dimensions of the posts, some good & bad points of each material and some little tips & tricks in the making. Hope this guide was helpful. Have fun creating your projects, thanks for visiting & enjoy!
Share or pin this post!